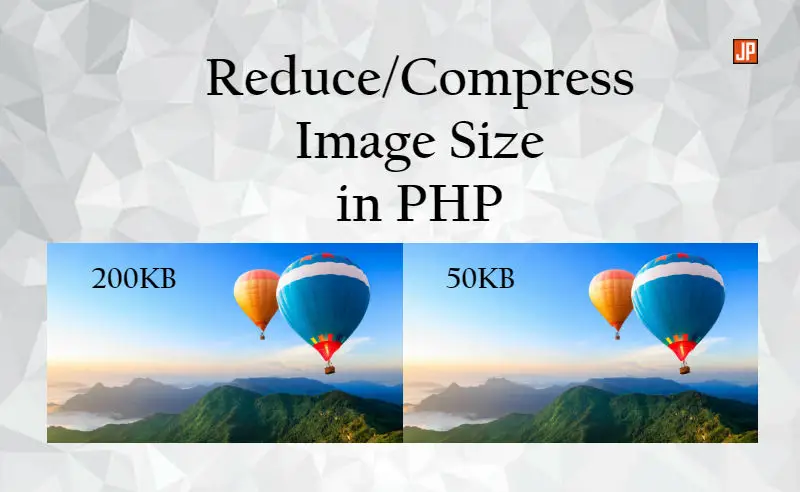
In this tutorial, I will show you how to reduce or compress images in PHP by using PHP function. This script is used to optimize/compress the images while uploading in PHP. This function is very easy to fix on your website and I have created the demo for your better understanding. You can find the demo link at the bottom of the page.
Generally, users upload large size images on websites. They don’t know the large size images take more time to load the website. So it will increase the website loading time and obviously, the visitors don’t like to wait for loading and they leave the website.
For SEO ranking the site loading speed is now very important and we can improve SEO ranking by image compression/ optimizations. Developers can use this PHP script and compress images before uploading the image. By using this function we can make images small-sized without losing image quality.
View Demo
I have divided this tutorial in 5 simple steps
1) Create “index.php” file and “uploads” folder
2) PHP code integration
3) HTML code integration
4) Merge PHP and HTML code
5) Conclusion
Follow the steps to reduce or compress images in PHP

1) Create one file “index.php” and one folder named “uploads” in your server
First of all, you need to create one new file named “index.php”. After index.php file creation, create one folder named “uploads” in your server. A file named “index.php” is for executing the code and “uploads” folder is used for store compressed/reduced images.
2) PHP code integration
In this portion, I have created one function for image compression. The function is used to compress “jpeg/jpg, gif, png” images. The next part is to store the image in the “uploads” folder. The code snippet is given below.
<?php
ini_set("error_reporting", 1);
function compress($source, $destination, $quality) {

	$info = getimagesize($source);

	if ($info['mime'] == 'image/jpeg')
		$image = imagecreatefromjpeg($source);

	elseif ($info['mime'] == 'image/gif')
		$image = imagecreatefromgif($source);

	elseif ($info['mime'] == 'image/png')
		$image = imagecreatefrompng($source);

	imagejpeg($image, $destination, $quality);

	return $destination;
}

if (isset($_POST['submit'])) {
	if ($_FILES["file"]["error"] > 0)
	{
		$error = $_FILES["file"]["error"];
	}
	else if (($_FILES["file"]["type"] == "image/gif") ||
		($_FILES["file"]["type"] == "image/jpeg") ||
		($_FILES["file"]["type"] == "image/png") ||
		($_FILES["file"]["type"] == "image/pjpeg"))
	{
		$destination_url = 'uploads/demo.jpg';
		$source_img = $_FILES["file"]["tmp_name"];

                // decrease the number (50) for more compression
		$fianl_file = compress($source_img, $destination_url, 50);
		$error = "Image Compressed successfully";

	}else {
		$error = "Uploaded image should be jpg or gif or png";
	}
}
?>
3) HTML code integration
In this step, I have created one form to choose the image which user want to compress. Now, the user can choose the image and the image will be compressed without losing the quality. Refer the html code snippet below.
<form action="index.php" name="img_compress" id="img_compress" method="post" enctype="multipart/form-data">
<ul>
  <li>
    <label>Upload:</label>
    <input type="file" name="file" id="file"/>
  </li>
  <li>
    <input type="submit" name="submit" id="submit" class="submit btn-success"/>
  </li>
</ul>
</form>
4) Full project code : Copy the below code and paste it in “index.php” file
The second step is just to copy the below code and paste it in “index.php” file and run in your browser.
<?php
	ini_set("error_reporting", 1);
	function compress($source, $destination, $quality) {

		$info = getimagesize($source);

		if ($info['mime'] == 'image/jpeg')
			$image = imagecreatefromjpeg($source);

		elseif ($info['mime'] == 'image/gif')
			$image = imagecreatefromgif($source);

		elseif ($info['mime'] == 'image/png')
			$image = imagecreatefrompng($source);

		imagejpeg($image, $destination, $quality);

		return $destination;
	}

	if (isset($_POST['submit'])) {
		if ($_FILES["file"]["error"] > 0)
		{
            $error = $_FILES["file"]["error"];
        }
        else if (($_FILES["file"]["type"] == "image/gif") ||
            ($_FILES["file"]["type"] == "image/jpeg") ||
            ($_FILES["file"]["type"] == "image/png") ||
            ($_FILES["file"]["type"] == "image/pjpeg"))
		{
            $destination_url = 'uploads/demo.jpg';
			$source_img = $_FILES["file"]["tmp_name"];

			$fianl_file = compress($source_img, $destination_url, 50);
			$error = "Image Compressed successfully";

        }else {
            $error = "Uploaded image should be jpg or gif or png";
        }
    }
?>
<html>
    <head>
        <title>Php code compress the image</title>
    </head>
    <body>
<fieldset class="well">
  <legend>Upload Image:</legend>
<form action="index.php" name="img_compress" id="img_compress" method="post" enctype="multipart/form-data">
<ul>
  <li>
    <label>Upload:</label>
    <input type="file" name="file" id="file"/>
  </li>
  <li>
    <input type="submit" name="submit" id="submit" class="submit btn-success"/>
  </li>
</ul>
</form>
</fieldset>
<center>
<?php if($_POST){ if ($error) { ?>
<h3><?php echo $error; ?></h3>
<?php }} ?>
</center>
</body>
</html>
You can download the code and view the demo by click below buttons. I have created one form for upload image file and user can compress image by upload the image and click submit.
You can view the demo by click the demo link. At last, you can execute the code and easily compress images in PHP using this function.
5) Conclusion:
All users want their website load fast to make the website user-friendly. This is the solution for those users and you can easily set up all the code and script easily by following simple steps. You can easily compress images in PHP by using this script.
You have to view my other posts also :
I hope you will like this tutorial and enjoyed it. If you have any questions then please comment below your question or contact me by contact us form. Please share this post with your friends.


