Hello friends, today I will show you how to install XAMPP in windows with a screenshot. Read this tutorial carefully and follow the steps below.
Let’s start…
First of all, let’s get some basic knowledge of XAMPP.
What is XAMPP?
XAMPP is a free and open source web server, written in PHP and Perl programming languages. It includes Apache HTTP Server and MariaDB database(PHPMyAdmin). Get more details Click Here.
Why we need to install XAMPP?
It used to host a PHP website on your localhost. Even more, it also used to store the MySQL database.
Now let’s come to the installation process.
Install XAMPP in Windows
1) Download XAMPP
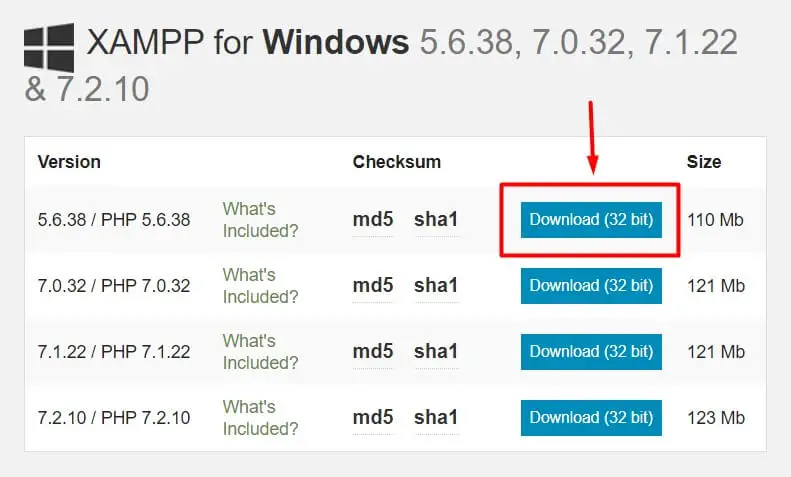
First of all, you have to download XAMPP from their official site. Download the highlighted XAMPP version(5.6.38). [Download XAMMP]
2) Open XAMMP Setup
3) Start Installation

4) Check all and next
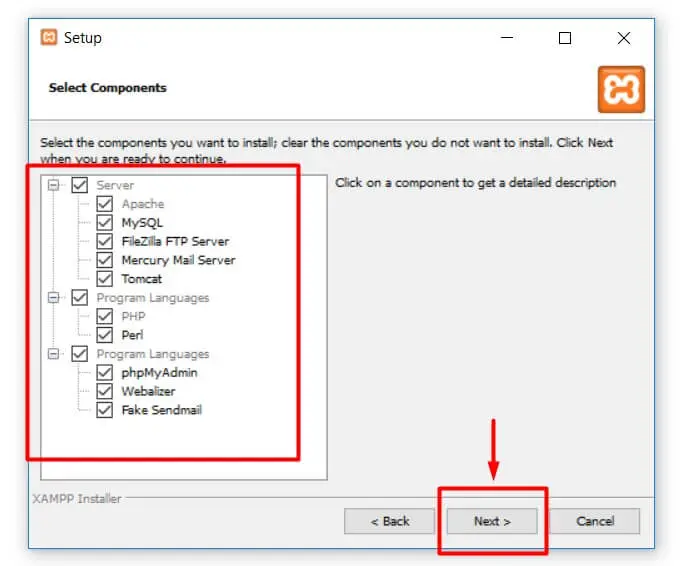
Make sure all the checkbox are selected as per screenshot.
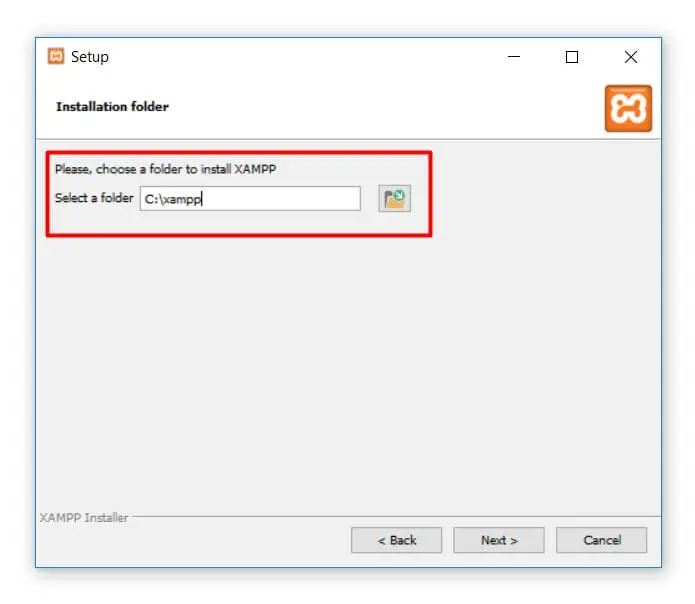
5) Browse and choose folder to save
Choose the drive where all XAMPP files will be stored.
6) Uncheck and next
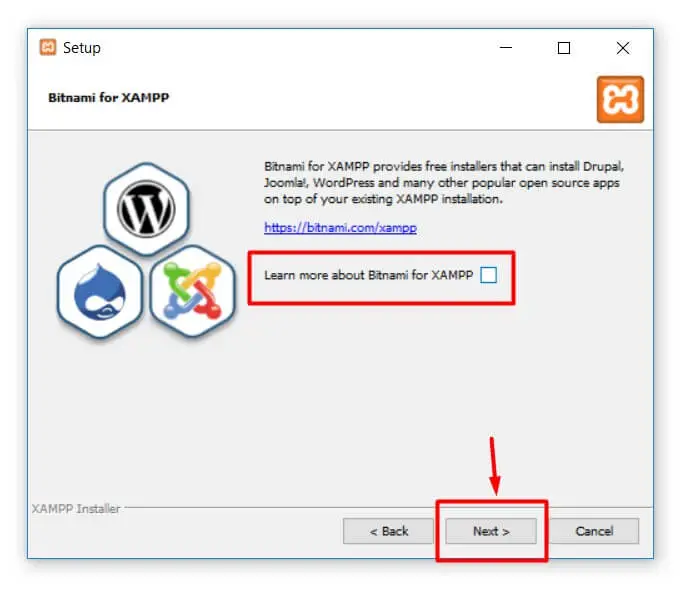
Uncheck “Learn more about Bitnami for XAMPP”. It is not required.
7) Final next
8) Wait till installation process complete
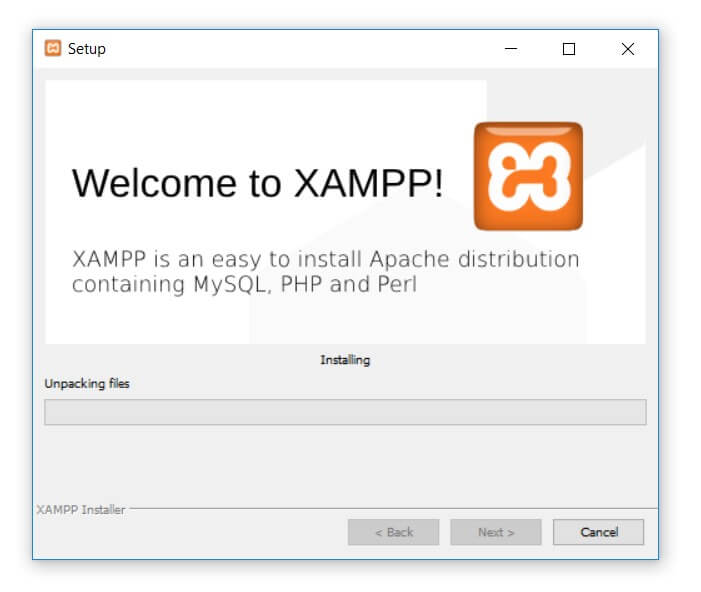
It maybe requires 10 minutes to complete the installation process. So, the installation process is almost complete.
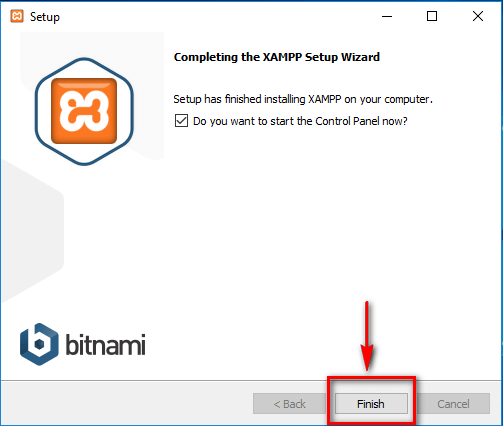
9) Check and finish
Check the box and click finish.
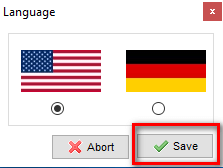
10) Select and save the language
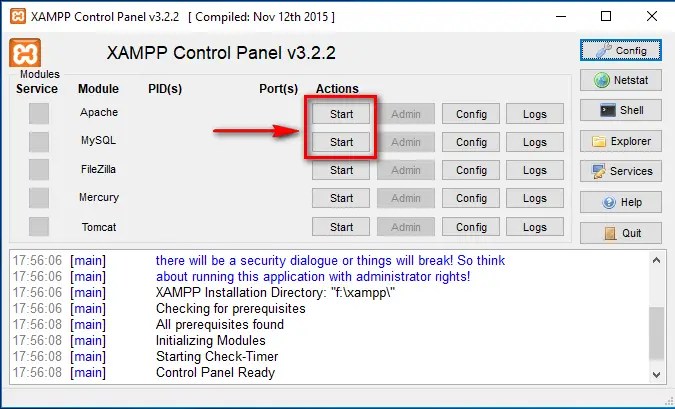
11) XAMPP control panel
Now, you can see the XAMPP control panel. Next, you have to start Apache and MySQL. See the screenshot.
So, you can see the screen like below after start Apache and MySQL.
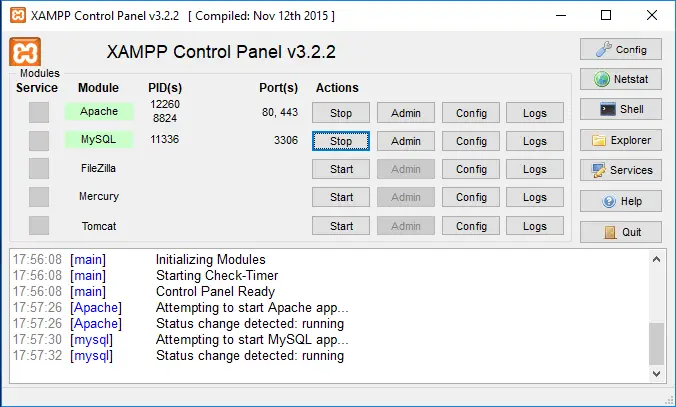
Finally, you have installed the XAMPP in your windows. Even more, we have started the Apache and Mysql.
Check XAMPP is properly working or not
After starting the XAMPP server we have to check it is properly work or not. Therefore, you have to follow below steps.
1) Open your web browser
First of all, open chrome browser. and write below syntax in the search bar.
localhost/phpmyadmin/
Note: Don’t forget the “/” after phpmyadmin. Because it maybe cause an error.

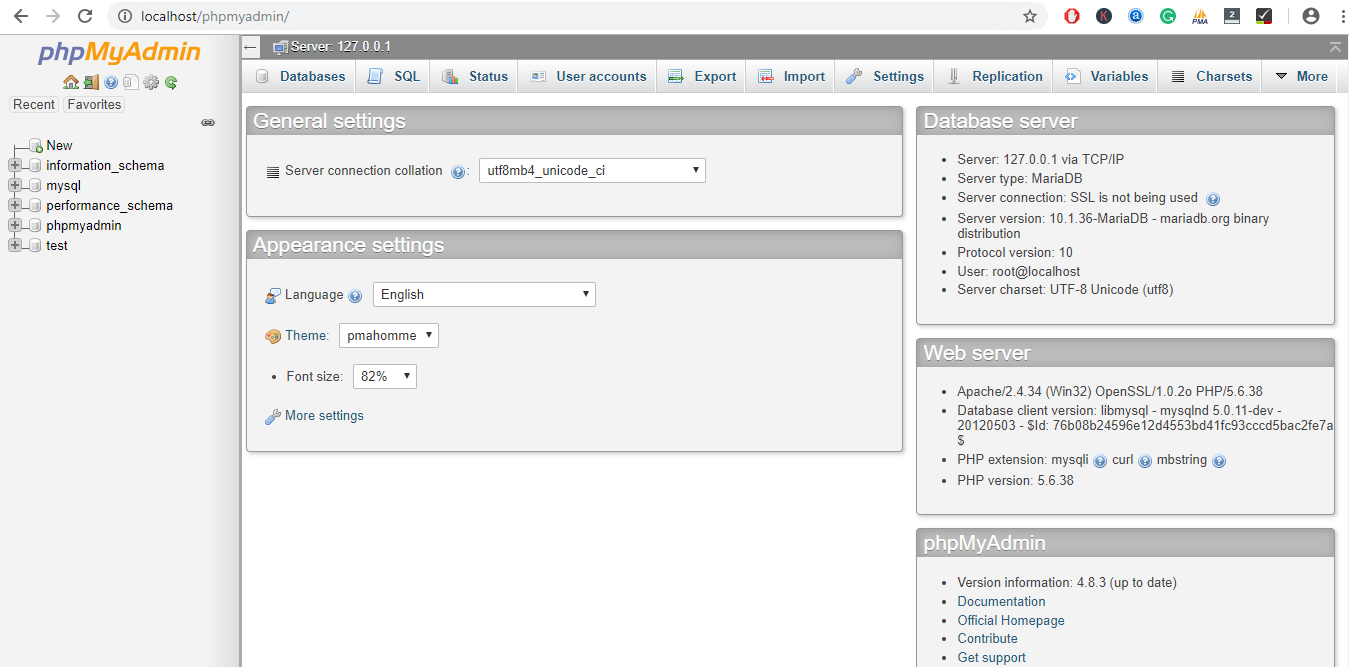
2) PHPMyAdmin Dashboard
See the screenshot below. If you see the screen like this then your XAMPP is installed and work properly. If you can’t see a screen like a screenshot, Don’t worry. Go to the XAMPP control panel and restart Apache and MySql. Check again it must be work.
Finally, you can follow above all steps and install XAMPP very easily. I hope this tutorial will help you. Share this and spread your love.
Releated Articles:


